
Create a Simple Photo Album Site With Wix
2019-01-03 14:49
My dad asked for some help creating a photo gallery web page. I suggested a free site on Wix. Now, Wix is a user-friendly site, but it's really useful to have experience with how content management systems work. My dad's a really good photographer and a terrific musician. He's used computers for a long time. But he's not software guy in the sense that I am. So, he asked for my help.
Below is a "here's what to do" guide to creating a simple photography site. It doesn't get into adding new widgets or even pages. Instead, it focuses on doing several things. Lots of people prefer working this way, because after a few clicks and edits they start to get how the application is intended to work.
I'll update this page with a link to his actual site once he's created it.
Confession
All the original (non-template) photographs in this post are mine. They're OK.
Be prepared to spend at least a couple of hours creating a simple site the first time around.
This tutorial assumes you've created a Wix account and have ended up on the first of the "getting started" pages.
So...after this page, you get asked some questions.

Here's the way I answered.
- I want to create a site for
myself - It should be a
photography site, and - I've
never done this before.
Pick a template. I liked this one.
Note: It's not possible to change the template afterward. So, either choose one you really like, OR expect that your first site will be a "play around" one.

Watch the video, because it'll be useful later, (the second time you watch it), then "Start now"
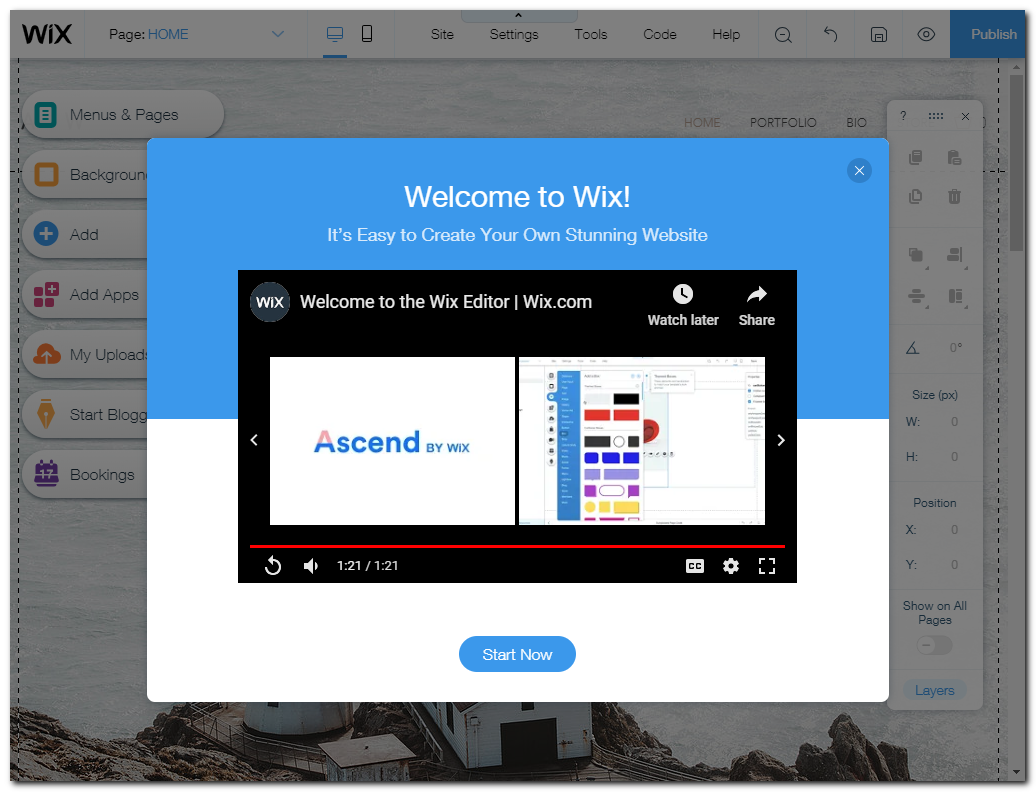
This is the editing page.
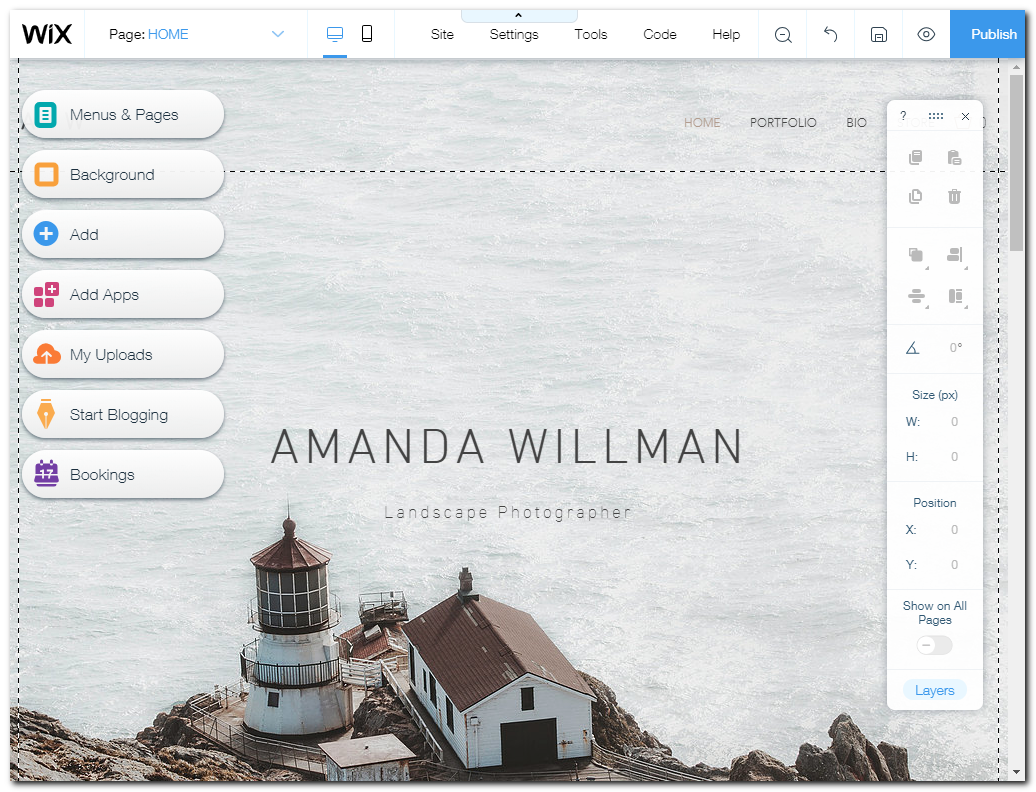
Click "AMANDA WILLMAN" to select the text box. Then, either double-click, or click Edit Text, to change the name. Then, hover over the top border and click/drag the name toward the top of the page.
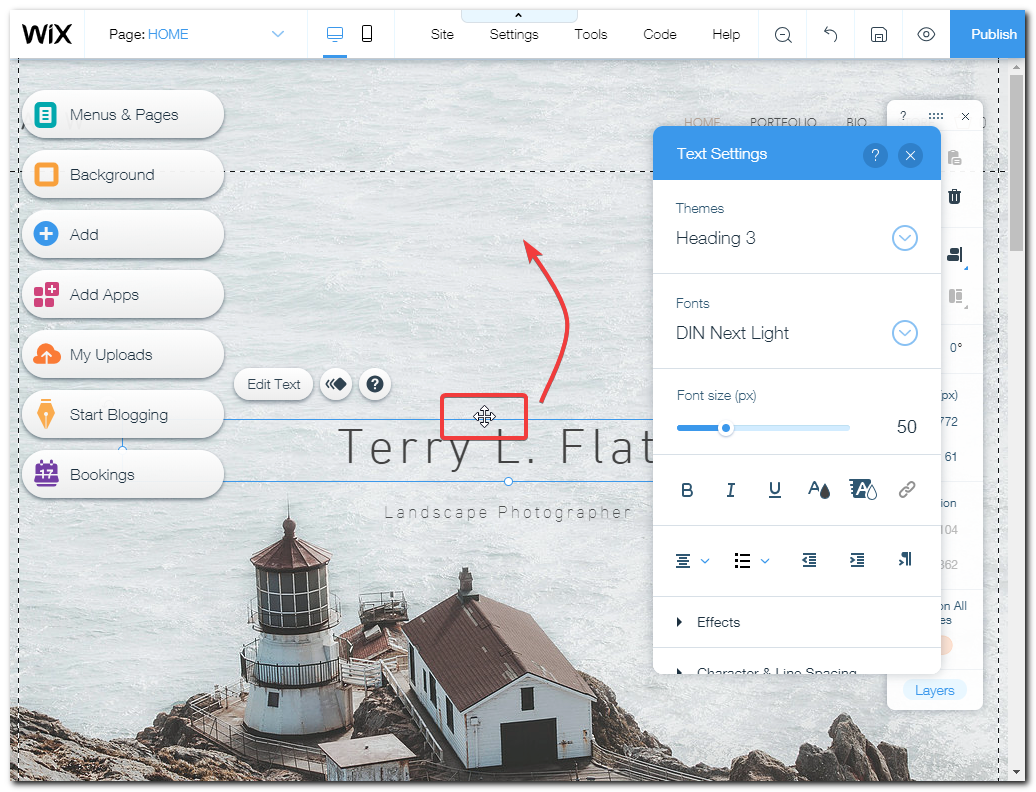
Likewise, change and move the smaller text box. In my example, I also selected the text boxes and decreased the box sizes by dragging the handles that appear on the borders.
Click Save.
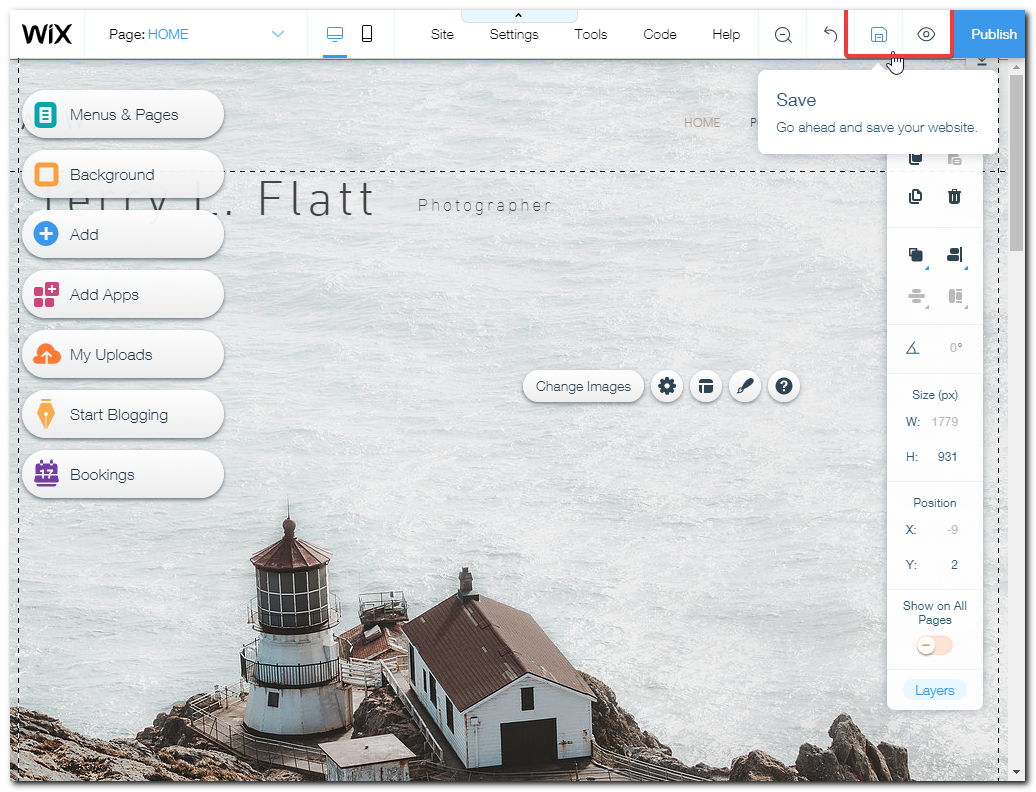
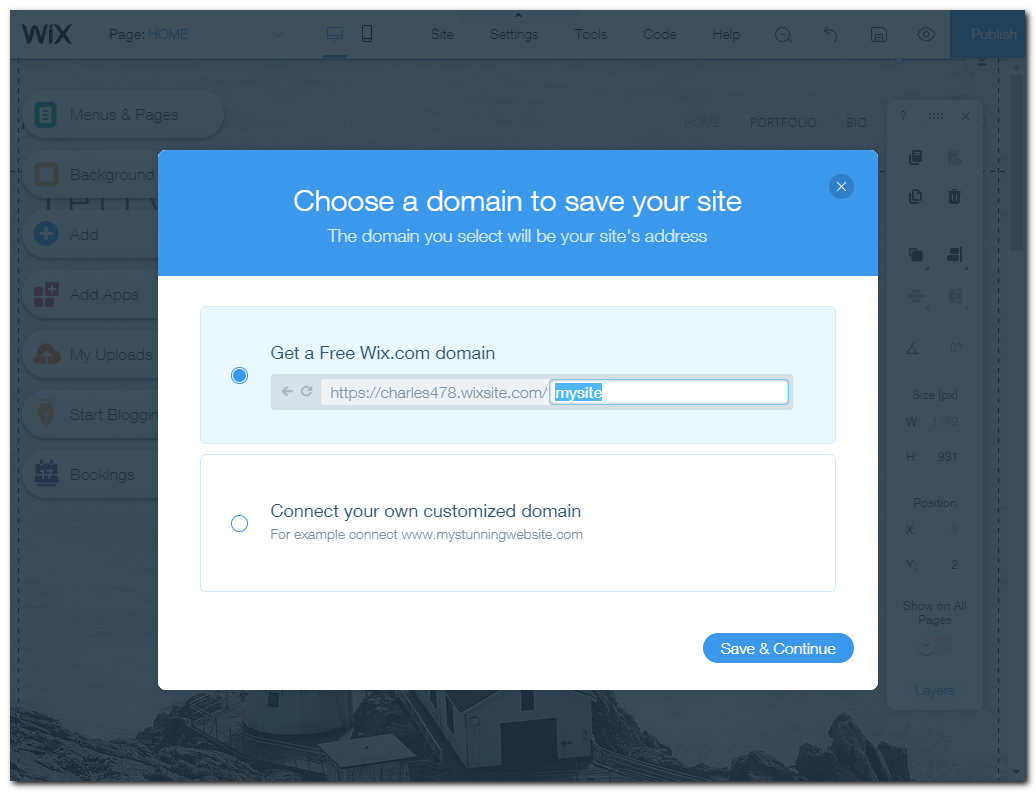
You'll get this prompt. Enter something appropriate like terry-flatt-photography. Save and Continue.
Do not publish, yet. You can change the domain name later, but remember you may decide to completely scrap this site.
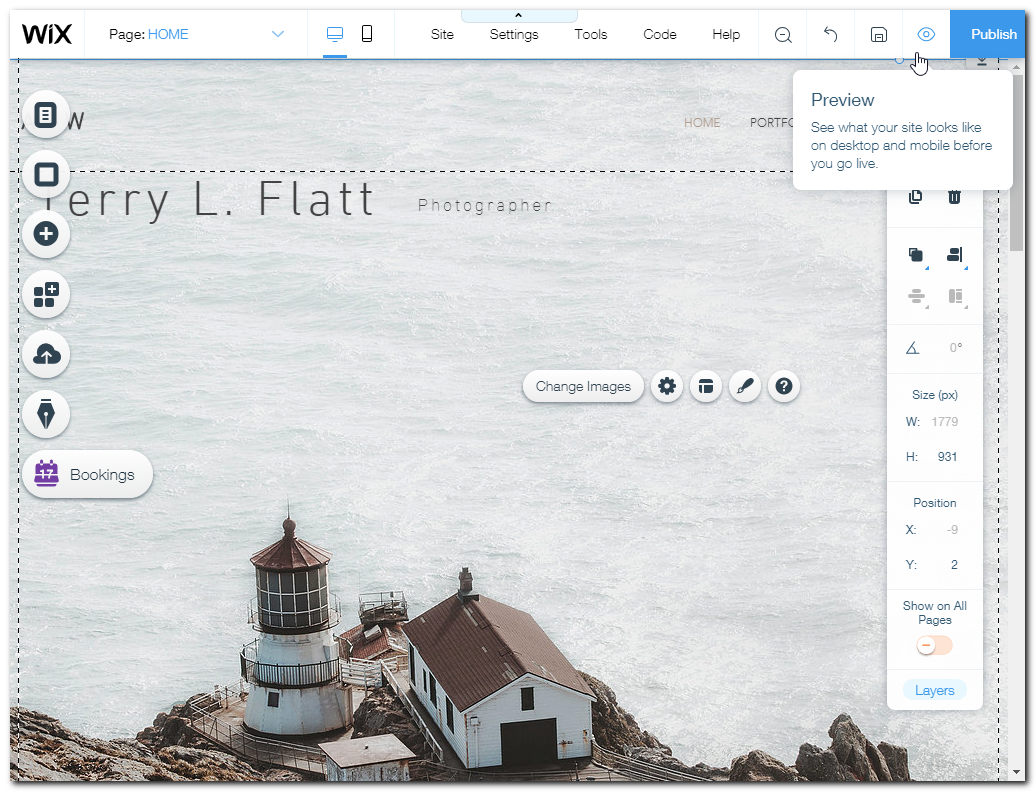
Click Preview.
We can see the "A-W" needs to be removed, and also the Store at least needs to be hidden if not removed completely. We also want to change (or remove) the changing photo gallery, and the portfolios.
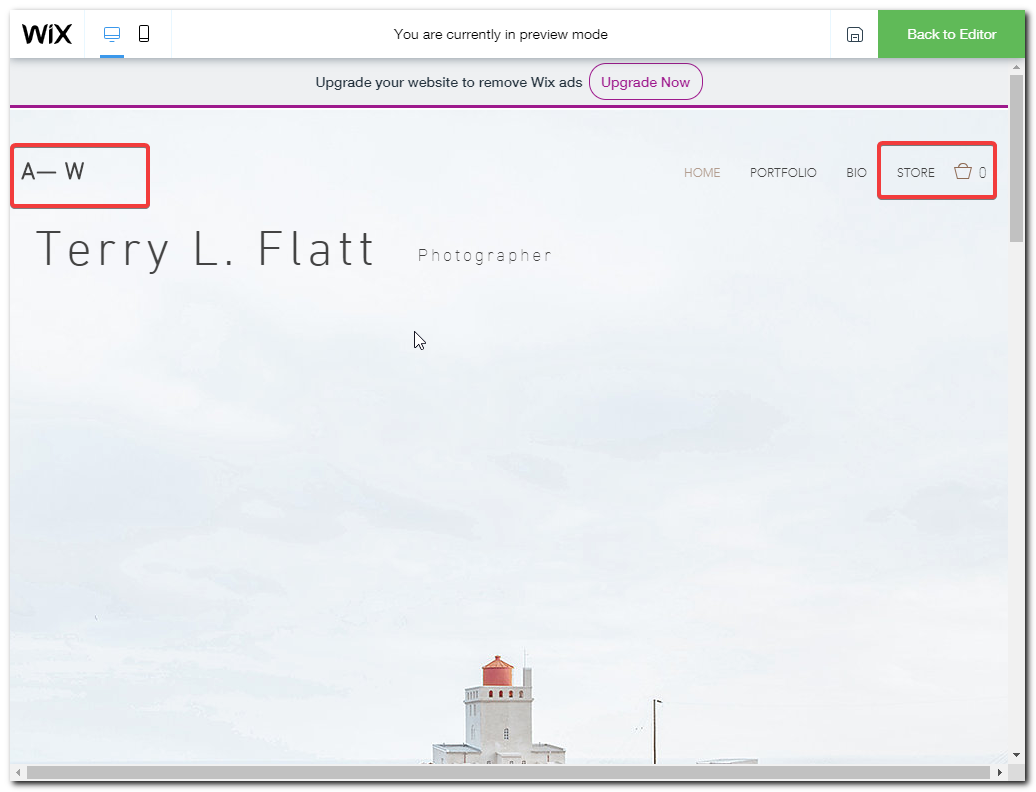
Click "Back to Editor. To hide all the controls, click the arrow-tab at the top of the page.
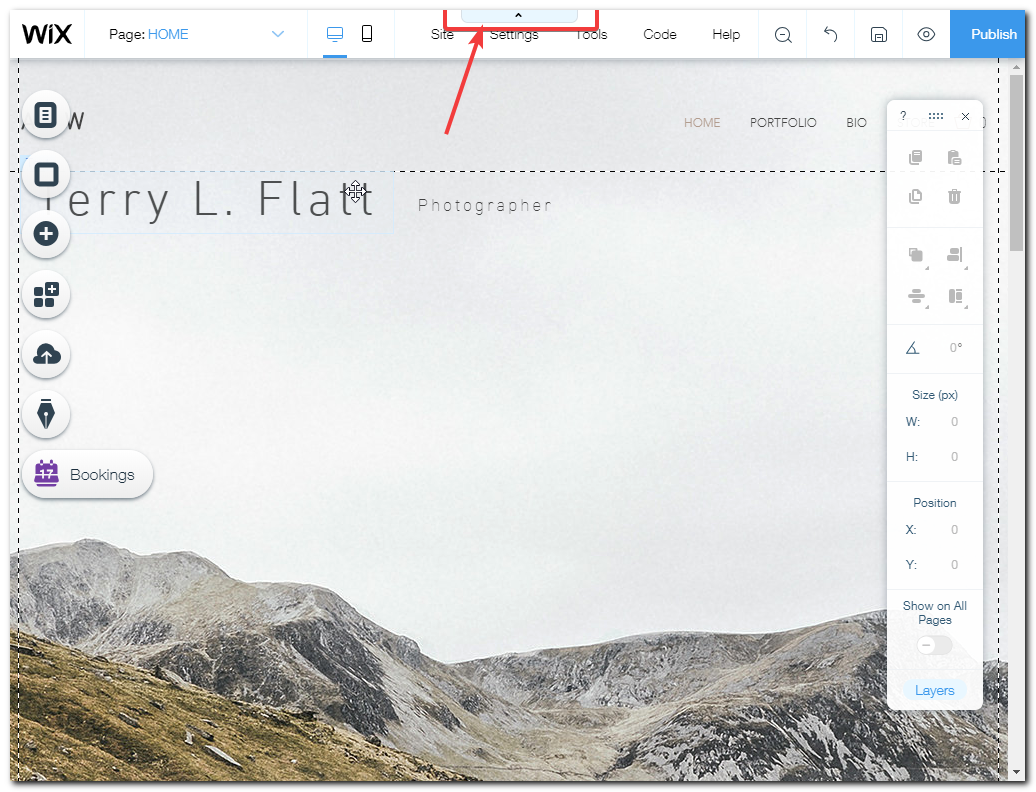
Now select the A-W text box and press Delete.
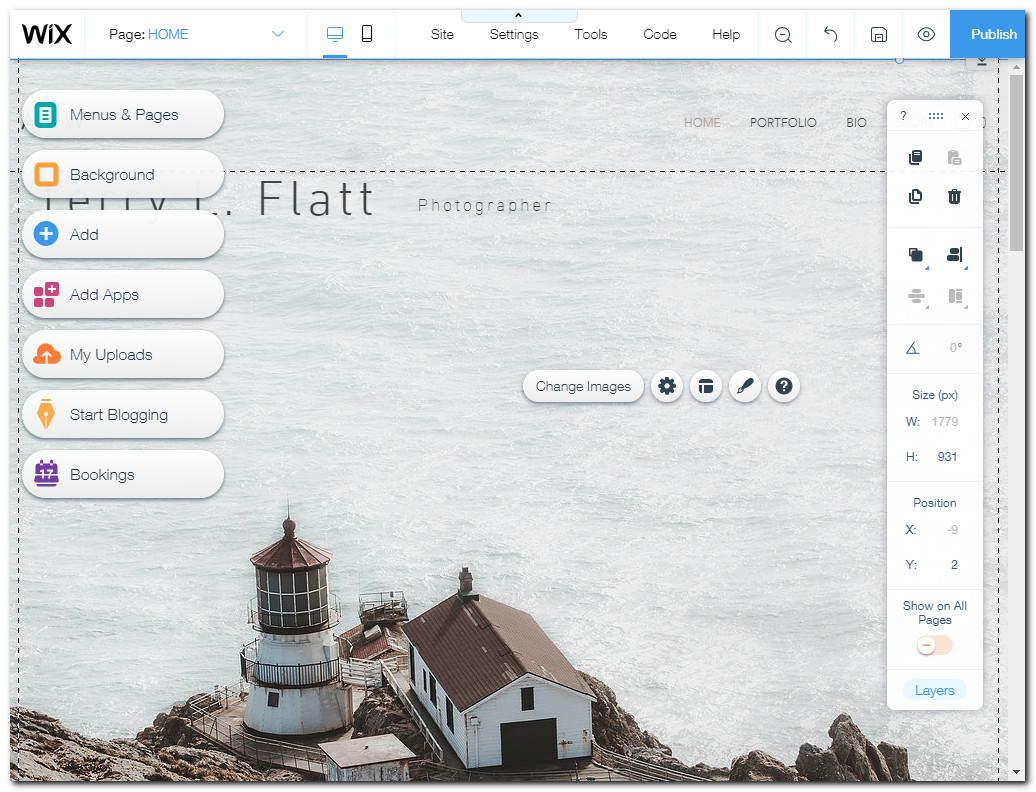
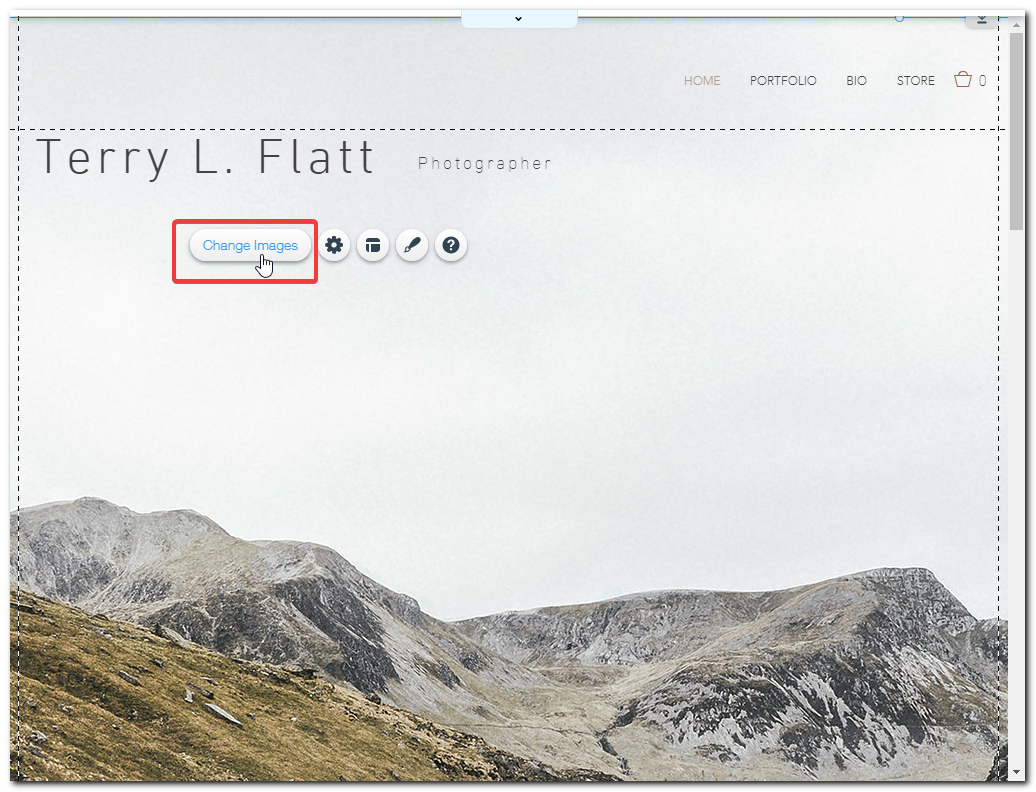
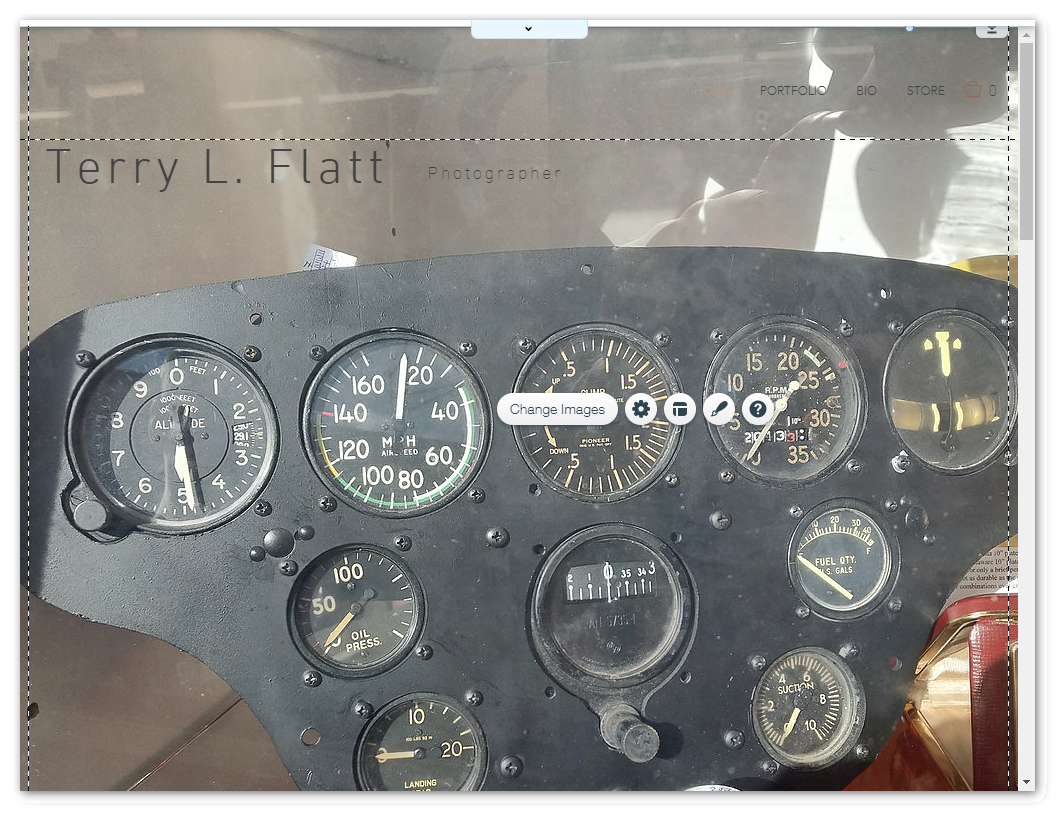
Next, click the main photograph. A menu will pop up. Click Change Images.
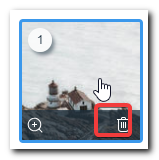
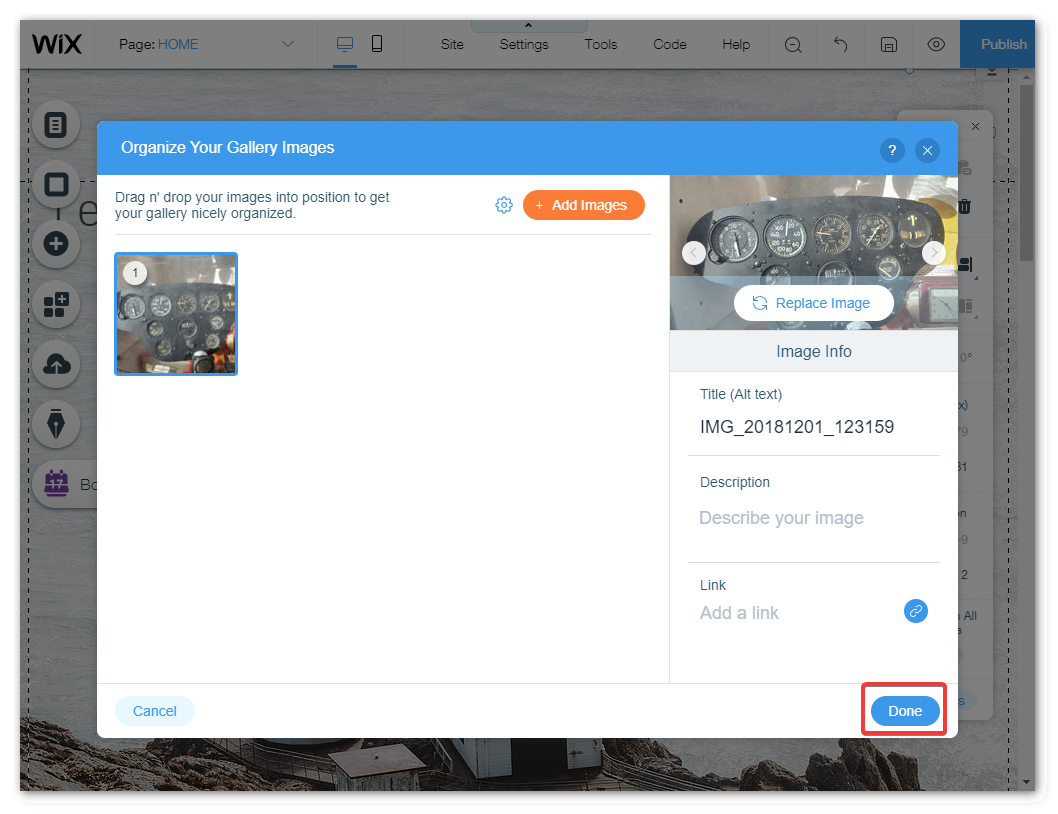
In the "Organize Your Gallery Images" tool, you can add, delete and move images, as well as add some descriptions. Let's start really simple. Delete all the existing images. Hover over each image and click the trash can.
Now click Add Images and choose a file from your file system. You can click Upload Media, or drag and drop files from a folder.
Note: Drag and drop didn't work for me, so I clicked Upload Media.
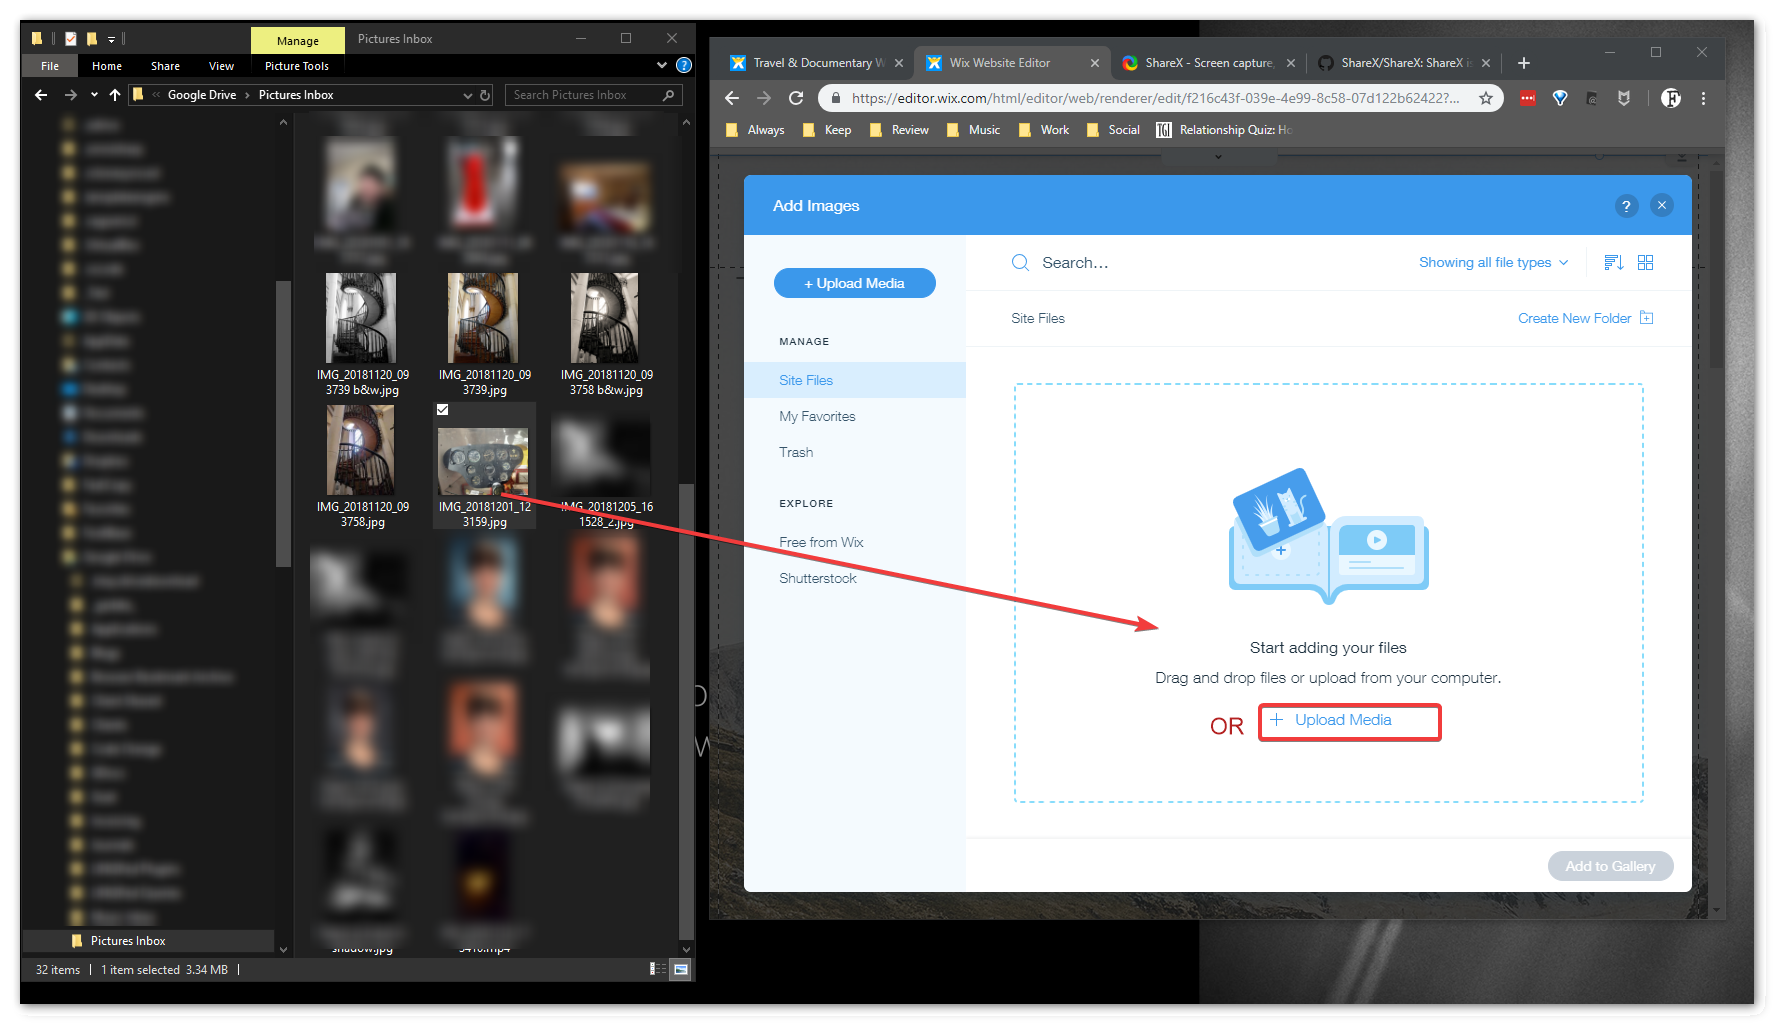
After it's uploaded, an Add Images tool appears. Select the image and click Add to Gallery.
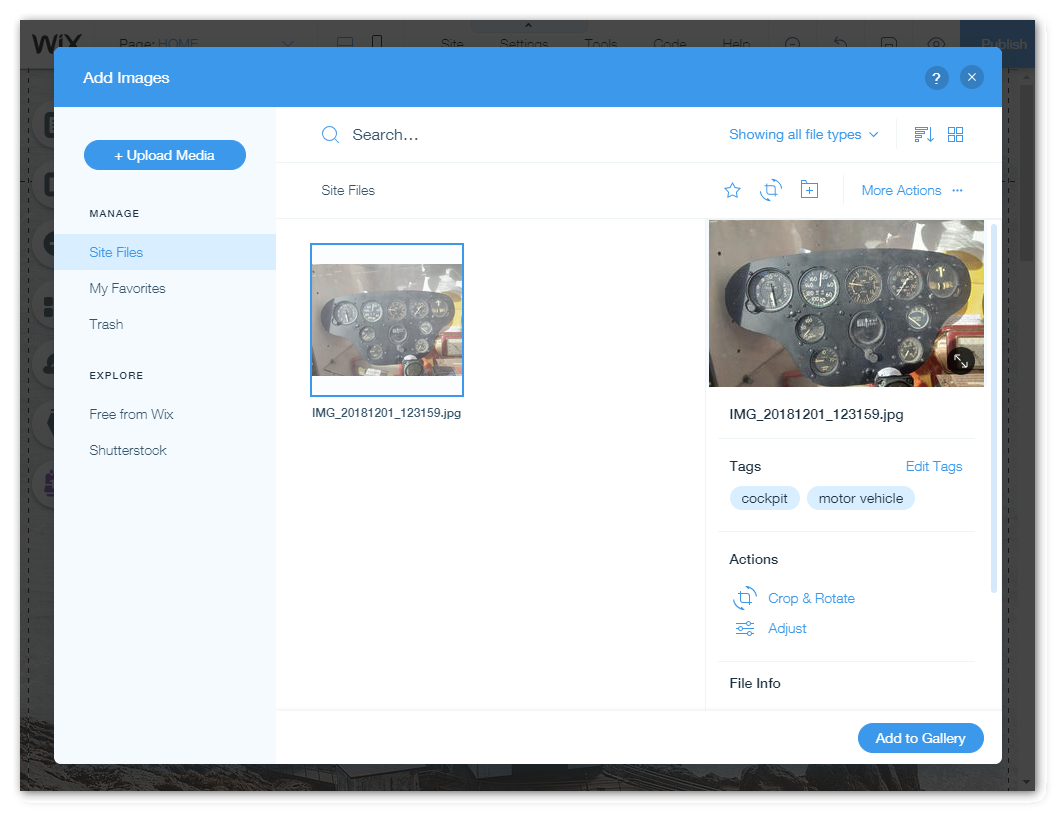
Then, click Done.
That takes care of the first image a visitor will see.
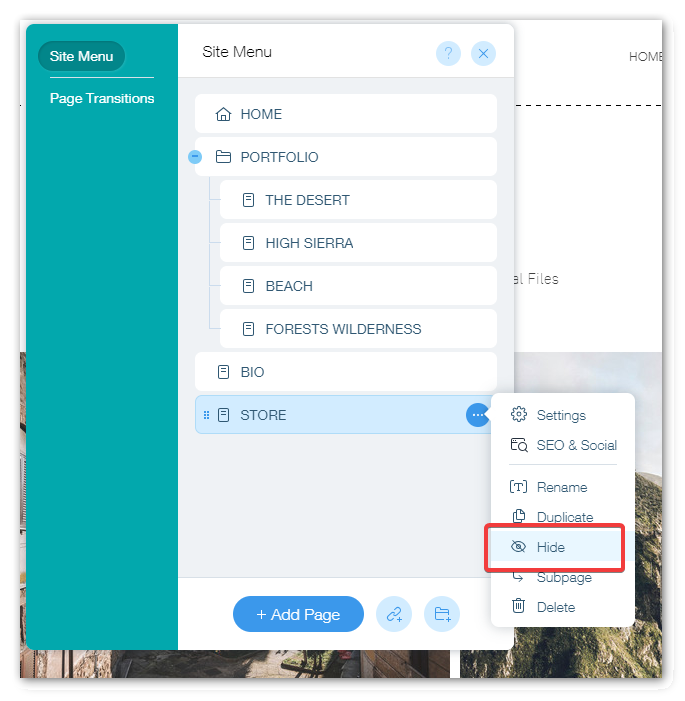
Now let's hide the Store. Click on the Horizontal Menu.

Then Manage Menu.
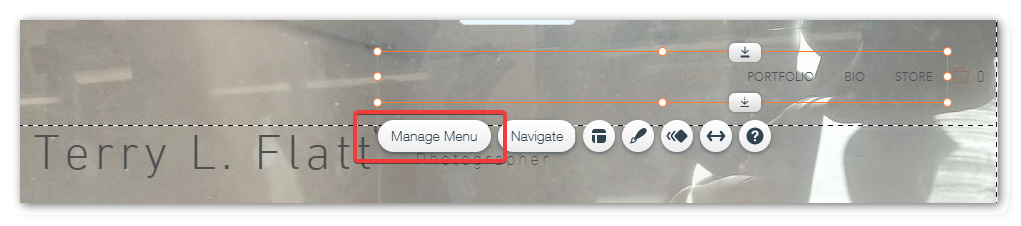
Select Store, click the "triple dot" settings menu, and choose Hide (or Delete). Then close the menu manager by clicking the upper right X.
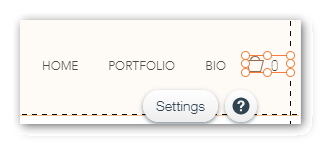
Next, select the Cart and delete it by pressing your <Delete> key.
Now, select the Horizontal Menu and Navigate
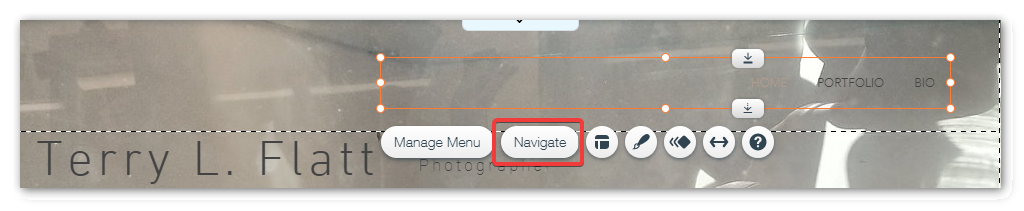
Chose "The Desert," which will open that page. From here, you can change the title and paragraph text as we have before.
Tip: If the Text Settings tool window gets in the way, click its header and drag it somewhere else on the page.
Now click a picture. This will select the Gallery. Click Manage Media.
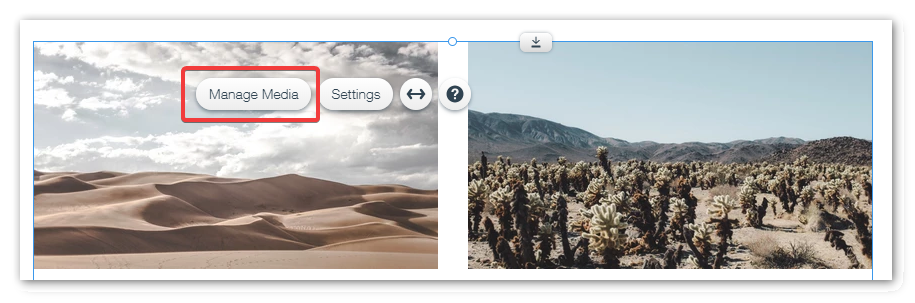
This opens a tool very much like the one on the home page. You can add, remove and arrange photos. You can also add videos and text.
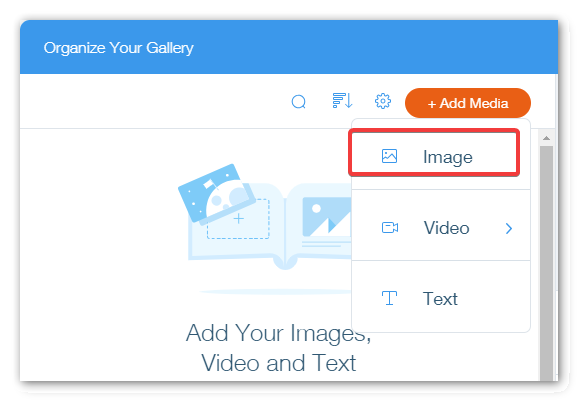
I deleted all the photos, then chose Add Media > Image.
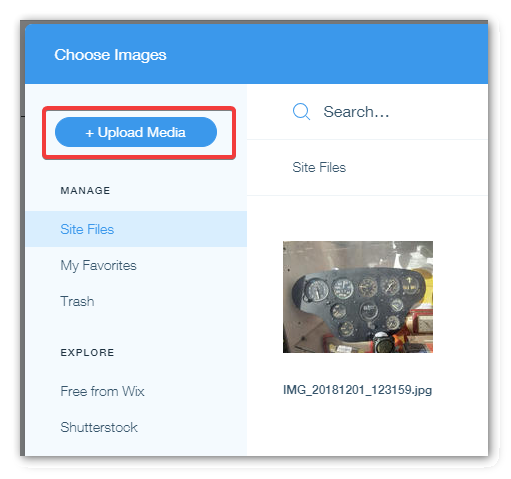
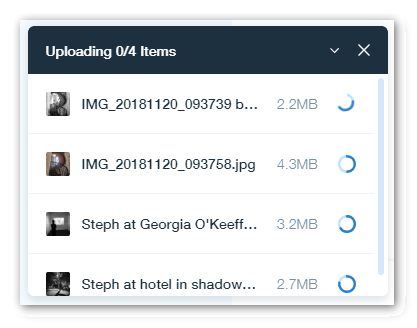
In the media tool, you can choose previously uploaded photos, or upload by clicking Upload Media. You can upload multiple images at once.
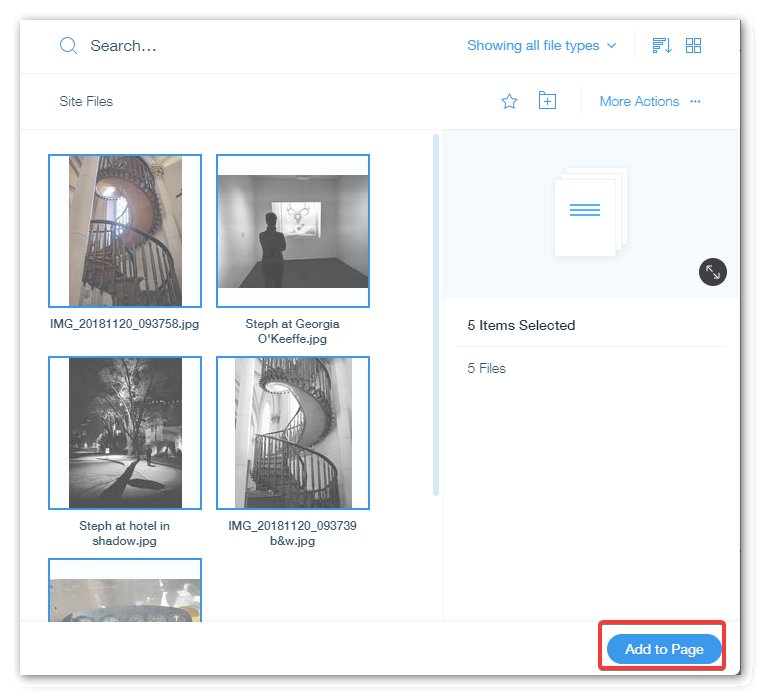
Then, you can select multiple files to Add to Page by using CTRL/CMD + Click.
Back in the gallery, you can add titles and descriptions. Click Done when finished.
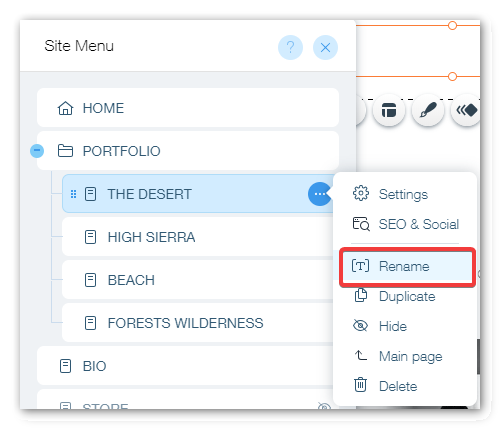
Select the Horizontal Menu > Manage Menu again. Select The Desert's settings, choose Rename, and change the name to Santa Fe.
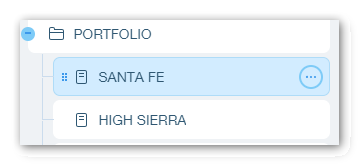
You can use the same tool to add, remove and reorder pages.
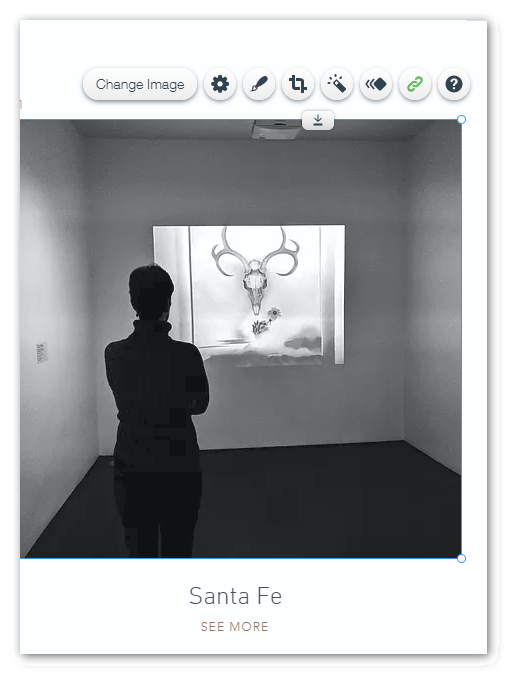
This leaves the home page gallery links, and footer, to take care of. Use Horizontal Menu > Navigate to open the Home page again. Then, scroll down to the Desert photo. Select it, Change Image to one in the Santa Fe gallery, then change the text to "Santa Fe."
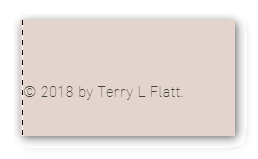
Scroll down further to the footer. Change the copyright text.
Show the Controls. Save the site, view it and then, if desired, publish it.
There is lot more that can be done with Wix. You might consider creating a "play" site that you don't publish, just to see what you can do with the tools. There's also lots of documentation. Like many photo editing tools, it's "easy once you know how."
For example, I changed the toolbar Design so it was more visible, and moved the name to the header so it appears on every page.
Happy site creating!