TFS Continuous Integration Walk Through Part 1 - Installing TFS and Checking In a Test Project
2017-02-04 15:24
 This is part of a series of walk throughs exploring CI in TFS, starting from the ground up. The entire series and source code are maintained at this BitBucket repository.
https://bitbucket.org/bladewolf55/tfs-ci-samples
Bonus: Uninstall!
Here's how to uninstall TFS, if necessary.
- Open Windows Services.
- Stop the VSO Agent service(s).
- Copy the service name(s).
- Delete the service from admin command prompt: sc delete vsoagent.Nesbit.Agent-Nesbit
- Open SQL Management Studio or Visual Studio SQL Server Object Explorer.
- Delete the Tfs databases.
- Open Programs and Features.
- Select Team Foundation Server Express 2015, choose Change, then Uninstall.
Install
Requirements and compatibility
Note These instructions are for TFS 2015 Update 3
Note about Visual Studio and MS Build Technically, you don't need to install Visual Studio to build using TFS. But, practically, you do, certainly if you use the recommended Visual Studio task. If you want to stick with just MS Build, you might be able to get away with installing the 2015 Build Tools
This walkthrough installs TFS, a build agent, and Visual Studio on one machine to keep the demonstration easy.
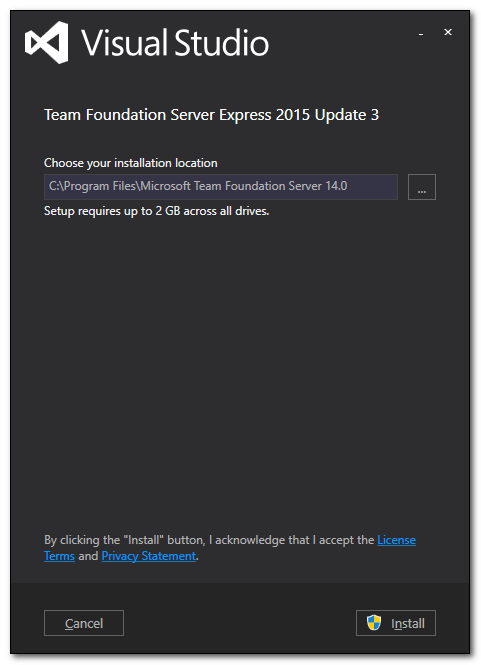
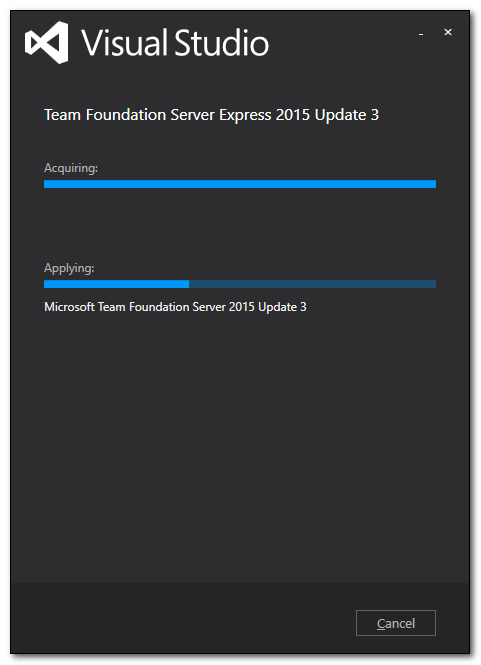
Download latest version (2015 Update 3 as of this writing). ISO
If you're using SQL 2016, Download and install the C++ Runtime prerequisite. http://support.microsoft.com/kb/3138367
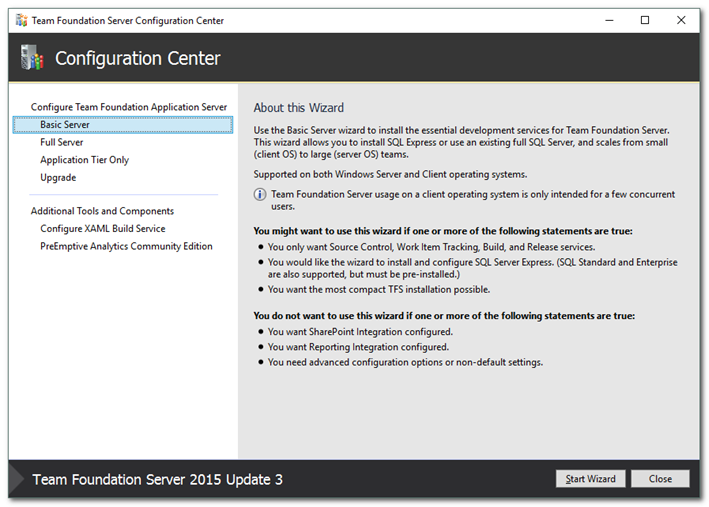
After installation, the Configuration Center opens. Select Basic Server and click Start Wizard.
Choose whether to participate in the Visual Studio Experience Improvement Program and click Next.
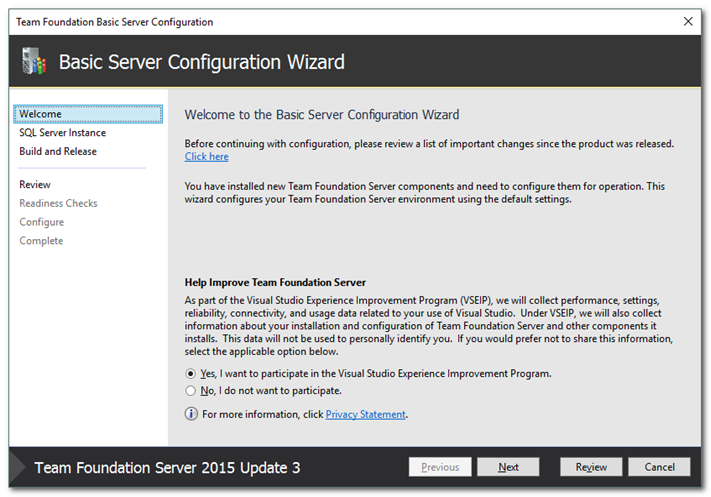
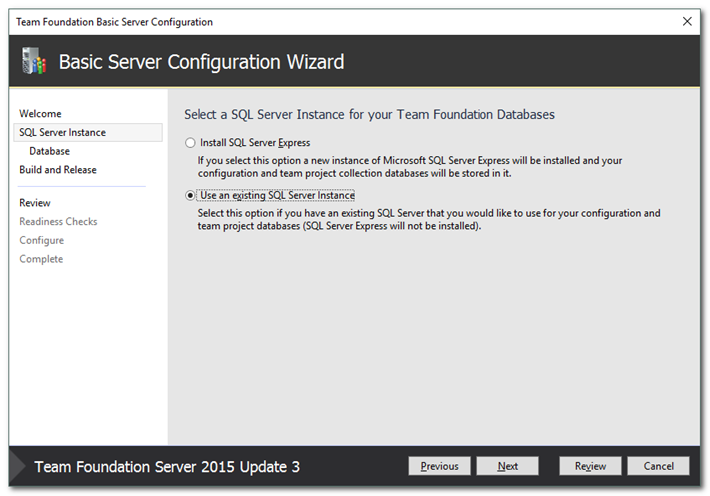
Choose whether to install SQL Express or use an existing instance. In my case, I already have SQL 2016 Express installed. Click Next.
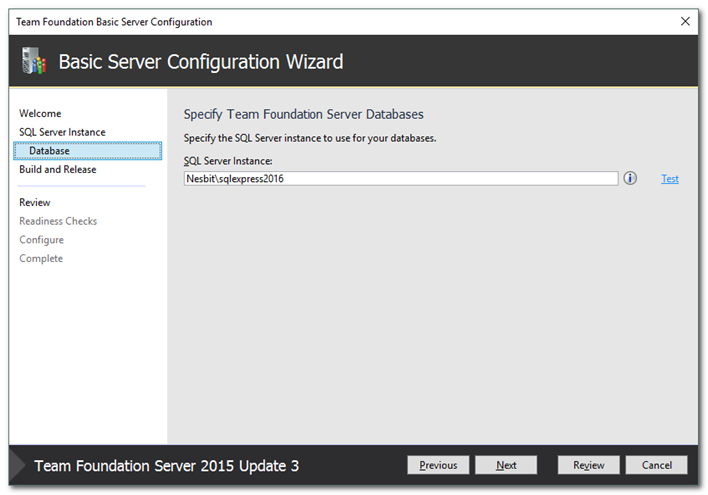
The default SQL instance is displayed, or enter a named instance. This is the instance in which the TFS databases will be created. Click Next.
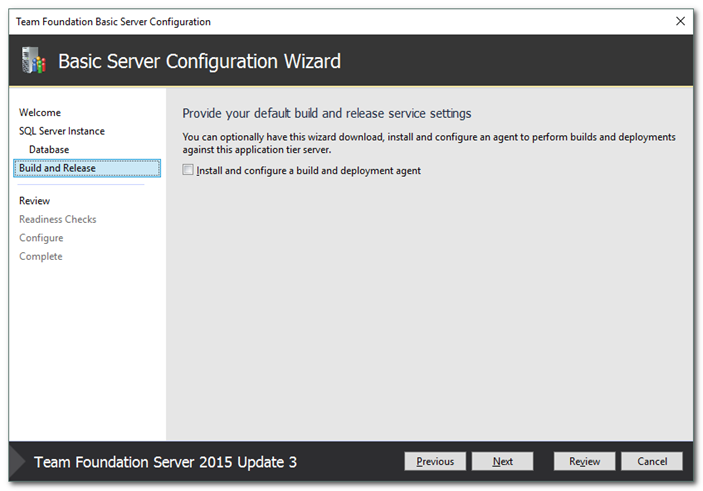
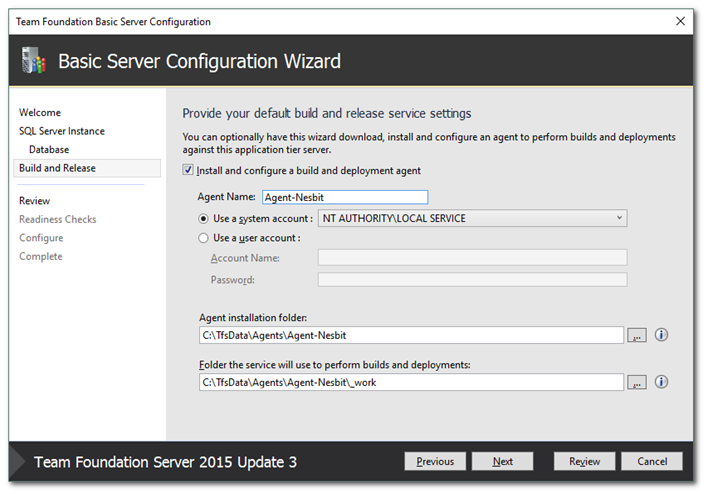
The next screen is what threw me. "Install and configure a build and deployment agent" is unchecked by default. You can install an agent later (I show how), but it's just as easy to install one now. Check the box and accept the defaults. Note the installation folder for later use. Click Next.
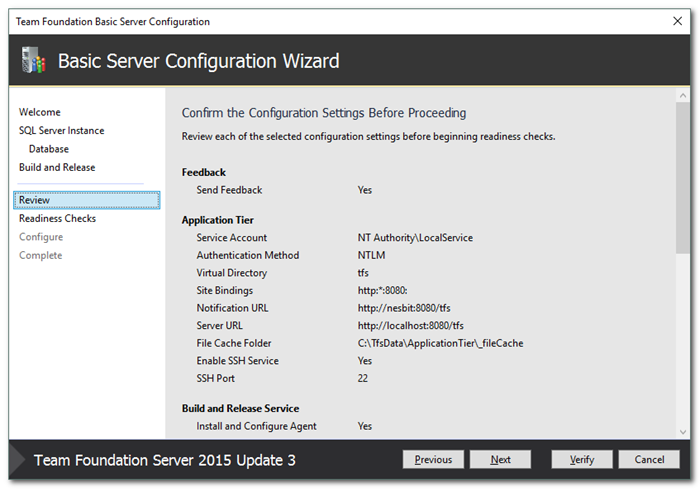
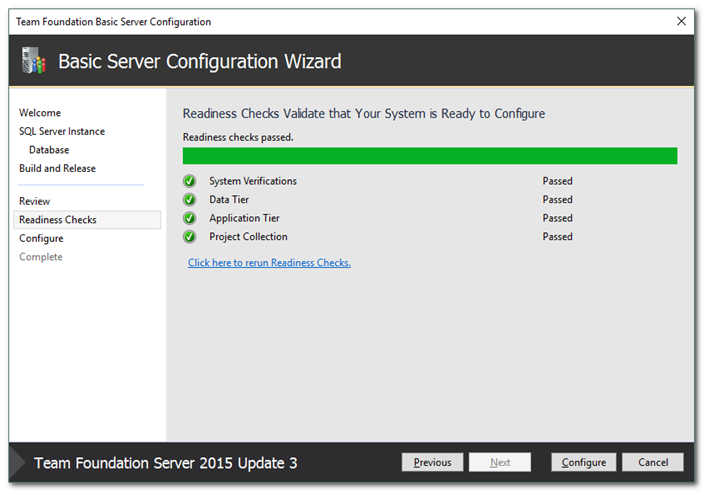
Readiness checks will run. If something fails, you'll need to fix it before continuing, then click "Click here to rerun Readiness Checks. Once everything passes, click Configure.
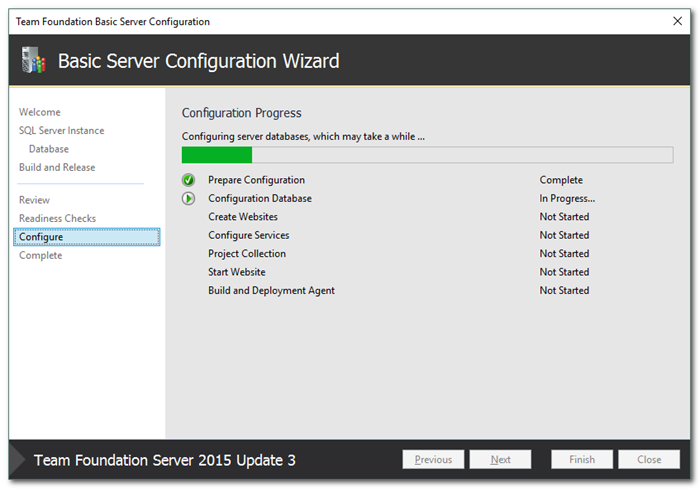
TFS and the agent will be configured. This creates databases, the agent service, and the website. When complete, click Next.
Note the web site location. It's a good idea to open the web site now. Click Close.
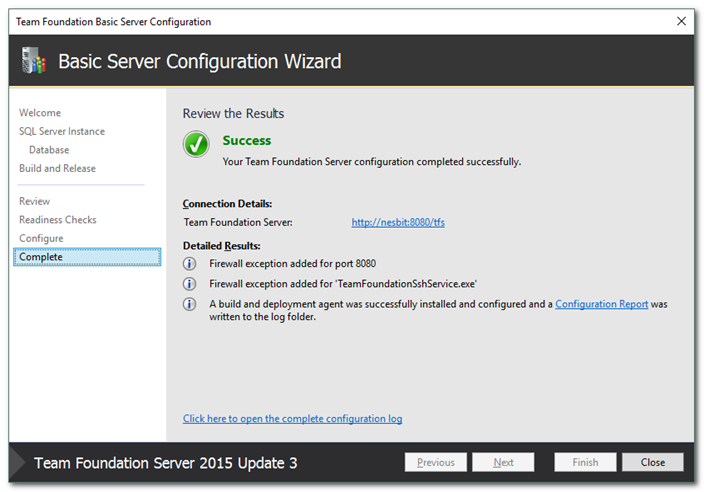
You're done with the wizard, so click Close. This will open the Server Administration Console.
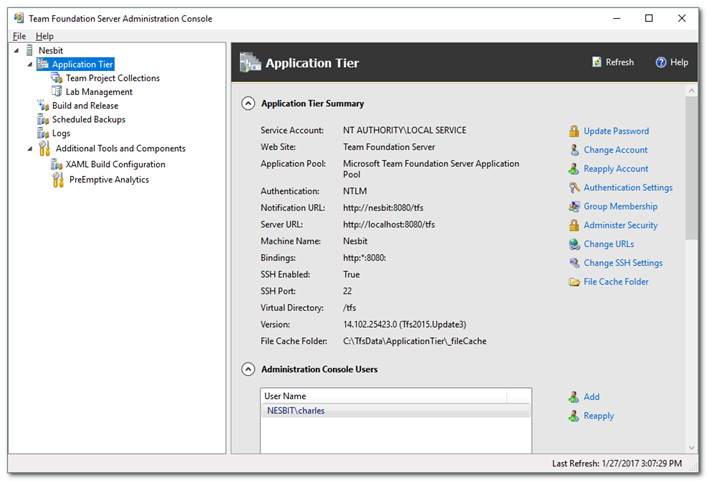
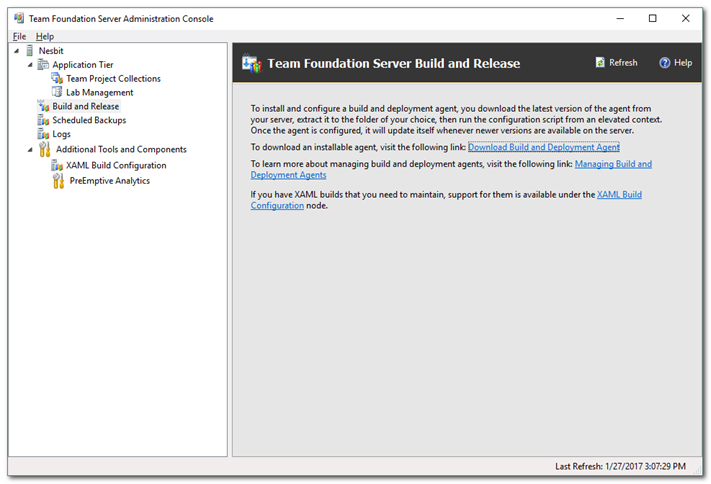
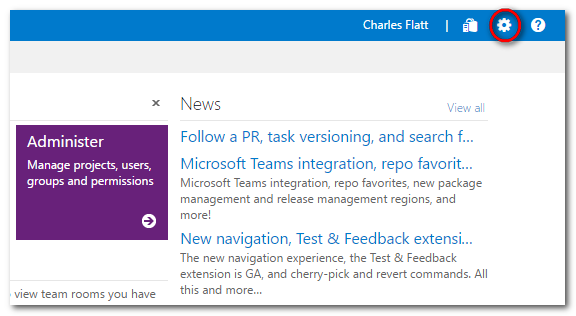
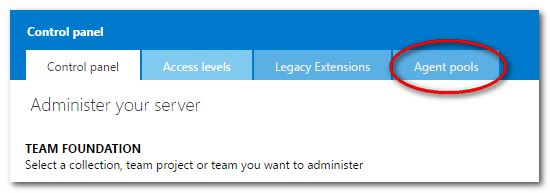
Select Build and Release. This page has some instructions. You can go directly to the TFS Settings > Agent page by click on Download Build and Deployment Agent. (Note: We will not be using the legacy XAML Build Configuration.). You can also get to the Settings page via the gear icon on the TFS web page.
Console App with Tests
- Create a Console application
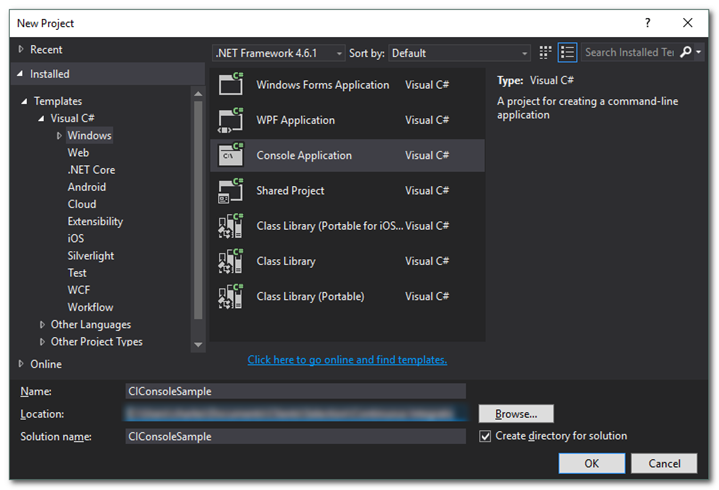
- Add two Class Library projects to the solution. We'll show consuming different test frameworks.
CIConsoleSample.MSTests
CIConsoleSample.xUnitTests
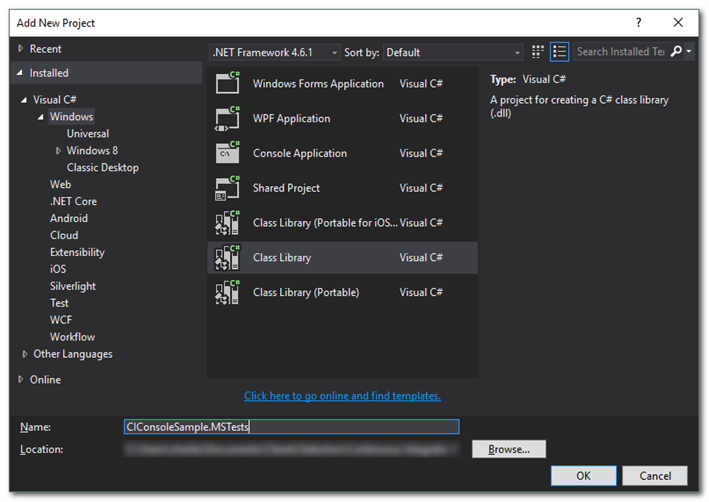
- In the MSTests class library, add an Extensions reference to
Microsoft.VisualStudio.QualityTools.UnitTestFramework

Also add a reference to the CIConsoleSample project.
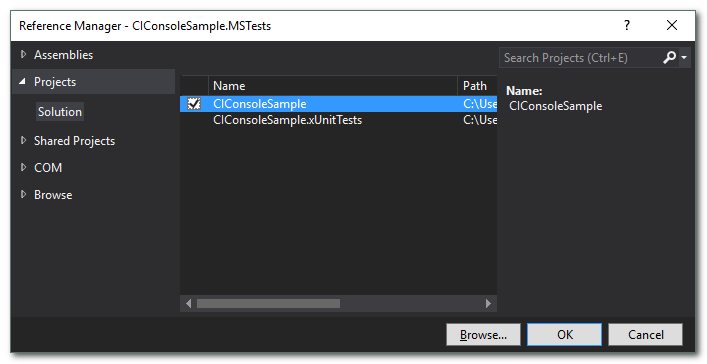
- In the xUnitTests class library, add the xUnit NuGet package, and the xunit.runner.visualstudio package.
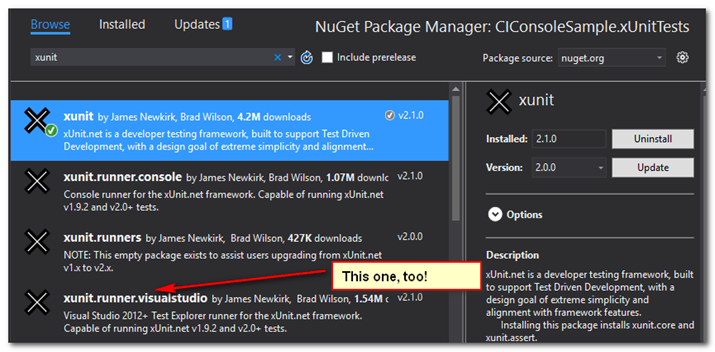
And, as above, add the reference to the CIConsoleSample project.
Create MSUnit Tests
Rename Class1.cs to CIConsoleSampleMSTests, add the needed using statement and the following tests code. These tests use nested classes and a Class.Method_Should.Function naming style.
using System;
using System.Collections.Generic;
using System.Linq;
using System.Text;
using System.Threading.Tasks;
//Added for tests
using Microsoft.VisualStudio.TestTools.UnitTesting;

namespace CIConsoleSample.MSTests
{
    [TestClass]
    public class CIConsoleSampleMSTests
    {
        [TestClass]
        public class TextMan_Greeter_Should {
            [TestMethod]
            public void AppendTextToTheGreeting()
            {
                //arrange
                string value = "Charles";
                string expectedResult = "Hello, Charles";
                TextMan textMan = new TextMan();
                //act
                string actualResult = textMan.Greeter(value);
                //assert
                Assert.AreEqual(expectedResult, actualResult);
            }
        }
    }
}
Create xUnit Tests
Reference: https://xunit.github.io/docs/getting-started-desktop.html
Add a class file named CIConsoleSamplexUnitTests.cs, then the following code. As above, these tests use nested classes and a Class.Method_Should.Function naming style.
using System;
using System.Collections.Generic;
using System.Linq;
using System.Text;
using System.Threading.Tasks;
//added for tests
using Xunit;

namespace CIConsoleSample.xUnitTests
{
    public class CIConsoleSamplexUnitTests
    {
        public class TextMan_Greeter_Should
        {
            [Fact]
            public void AppendTextToTheGreeting()
            {
                //arrange
                string value = "Charles";
                string expectedResult = "Hello, Charles";
                TextMan textMan = new TextMan();
                //act
                string actualResult = textMan.Greeter(value);
                //assert
                Assert.Equal(expectedResult, actualResult);
            }
        }
    }
}
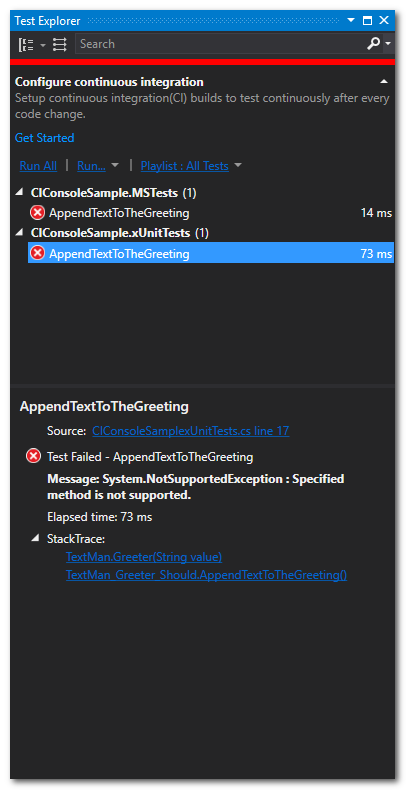
Run Failing Tests
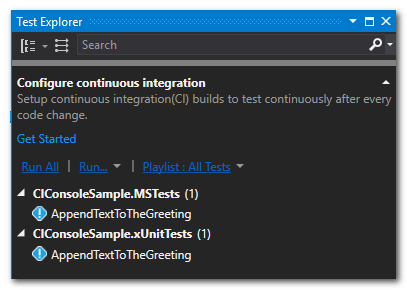
First, here's how I like to display my tests, taking advantage of the nested class structure.
- Tear off the Test Explorer into its own window, so that you can easily resize and see all the tests.
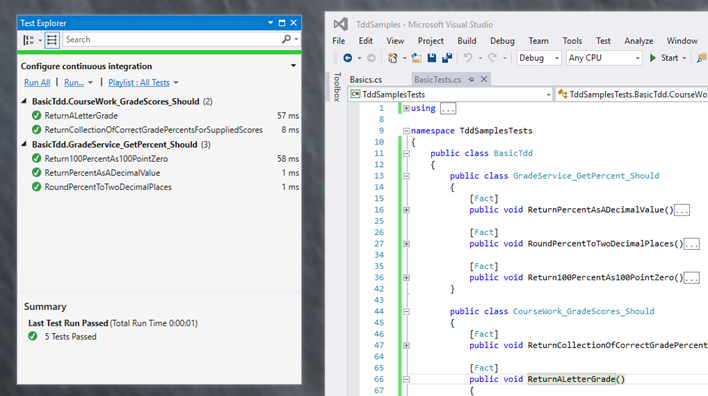
- Group the test results by class
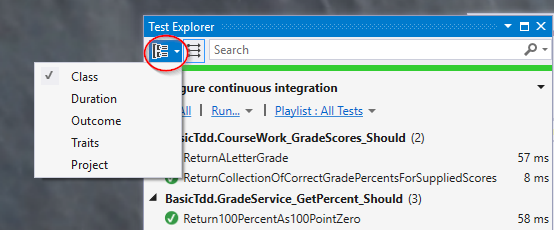
- In your xUnitTests project, add an app.config file with the following setting. This causes the result to display only the method name instead of the fully qualified name.
    <?xml version="1.0" encoding="utf-8" ?>
    <configuration>
      <appSettings>
        <add key="xunit.methodDisplay" value="method"/>
      </appSettings>
    </configuration>
This is enough for the moment. Let's add this solution to TFS, then to our CI server.
Add Solution to TFS
References
Create a team project Choose a process
Open the Team Explorer. If this is the first time connecting to TFS, you may see something like this (including the commercial).
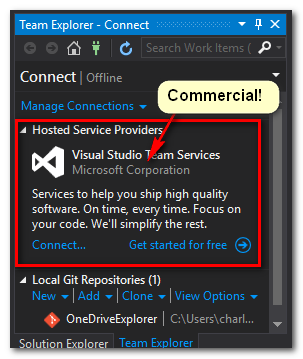
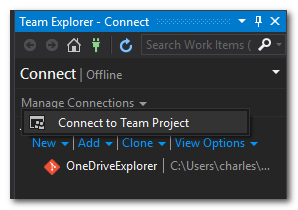
Close the commercial, if you want, drop down Manage Connections and choose Connect to Team Project.
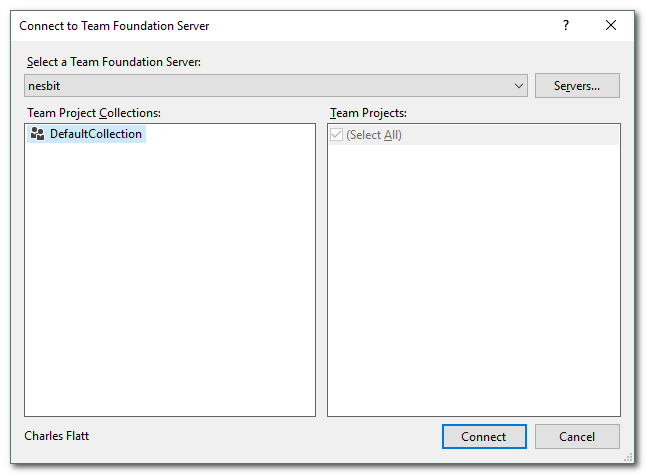
Select your local server. It will search for collections. Click Connect.
For this walk through, we're using TFS workspaces, not Git, for version control.
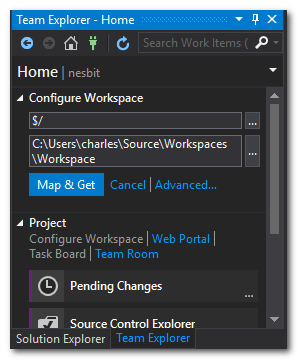
You can click "Configure your workspace" in the big mustard prompt. Or, click Project > Configure Workspace
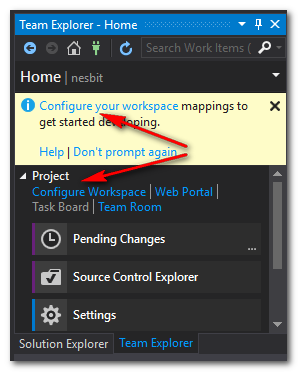
The dialog maps the remote collection's root folder to a folder on your local computer. You can accept the default (which I'll do for this example), or choose another folder (which I'd normally do). Click "Map and Get". This is our first solution, so there are none to get.
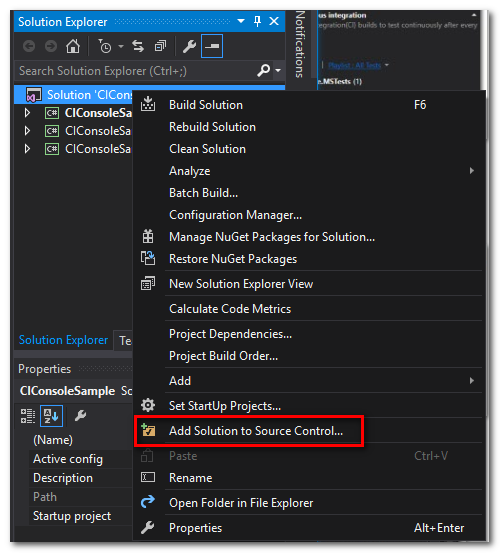
Switch to Solution Explorer, right-click the solution, and choose Add Solution to Source Control.
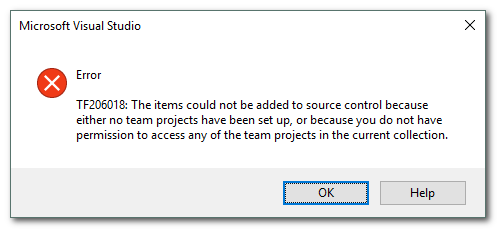
I got this error message.
Full Disclosure I don't like TFS. This is an example of why. So much ceremony! I know there's a good reason, but sometimes I just want to get to work.
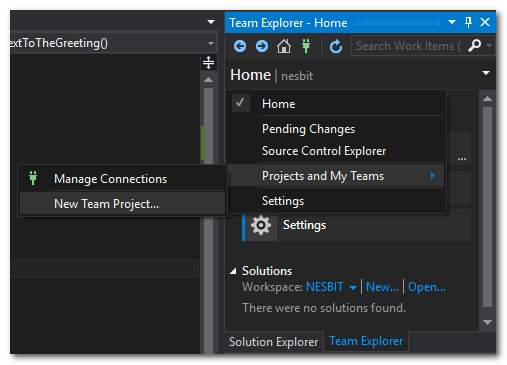
Switch back to Team Explorer, and choose Home > Projects and My Teams > New Team Project.
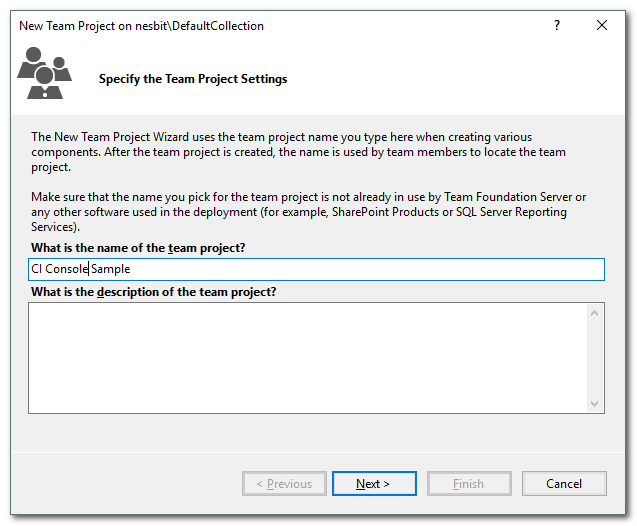
Name your team project. Click Next.
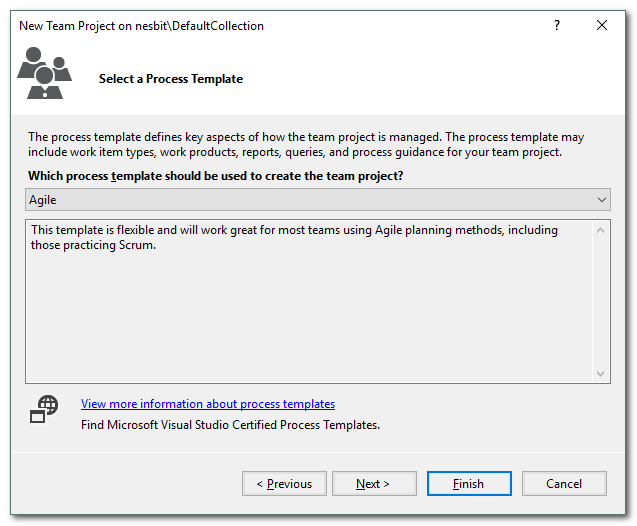
Choose the Agile process. Click Next.
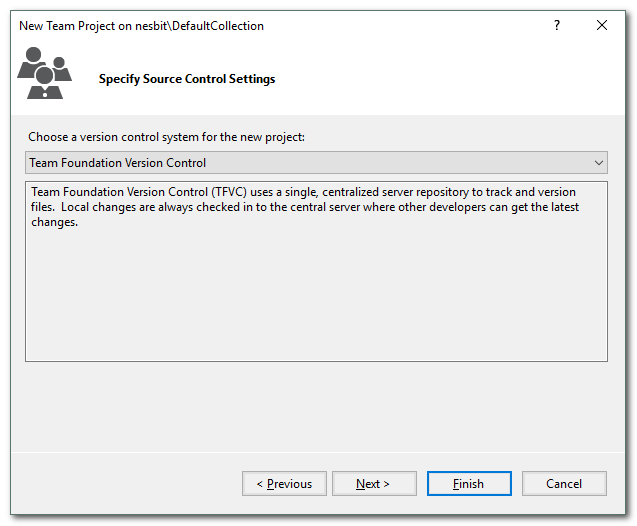
Choose Team Foundation Version Control. Click Next, then Finish.
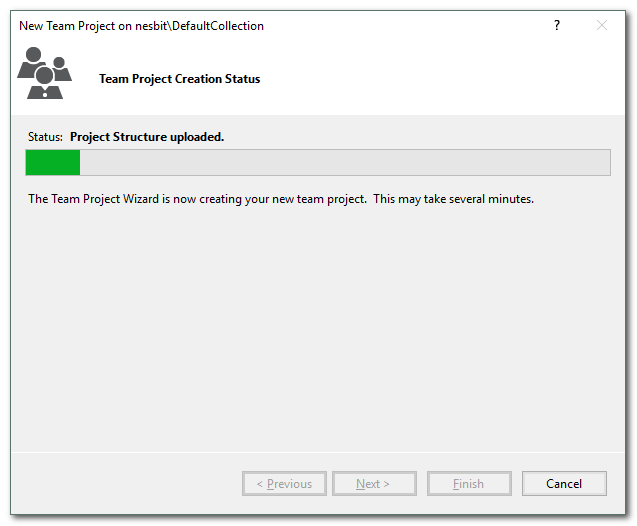
Now switch to Solution Explorer and add the solution to the team project.
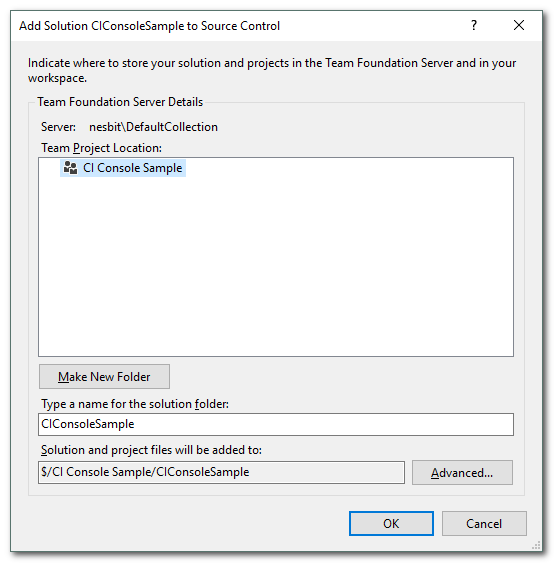
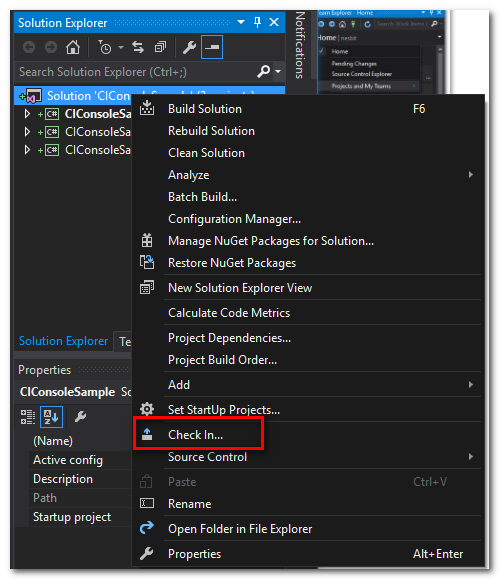
The solution files are added locally, but not yet committed (checked in) to the repository. Right-click the solution and choose Check In.
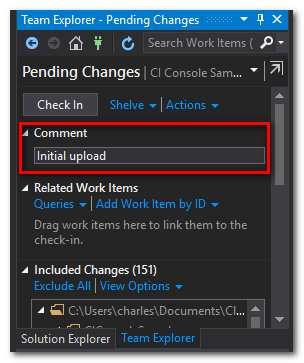
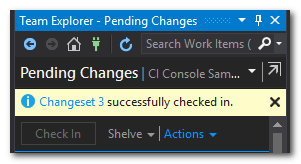
Enter a comment and click Check In.
Next Part: TFS Continuous Integration Walk Through Part 2 - Create an Automated Build

